Difficulty 7
Break frequency 3
108 days a year
Wave Direction
Swell Direction
2.5m - 3.0m Swell
Wind Direction
Tide
spot author
Username: longinus
Date created: 30/06/2008
recommended board
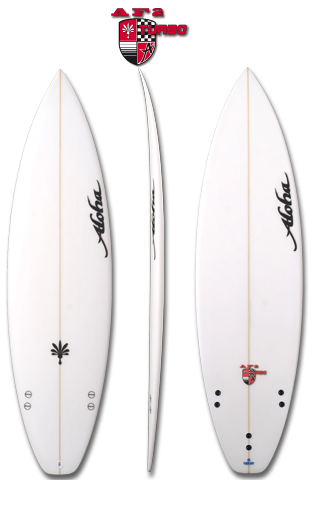
- Shaper: Aloha
- Design: AF2 Turbo
- Sizes: 6'0 to 6'8"
- Surfer Weight: 70kg to 95kg+
This high volume, versatile short board is the perfect step-up from the AF1 PRO. Designed to suit a wide range of surfers, the AF2 TURBO retains all the characteristics of a high performance short board, suc... Read more
general information
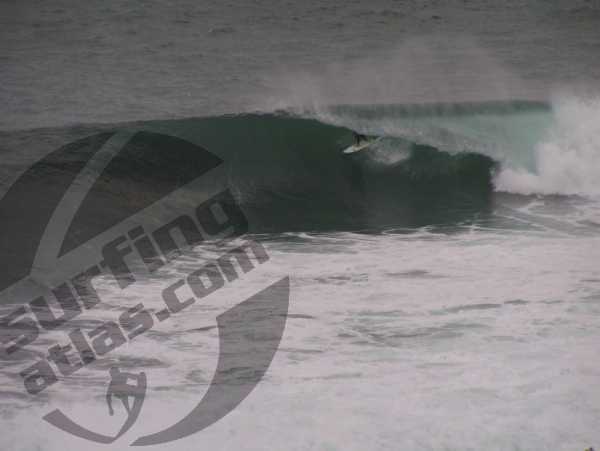
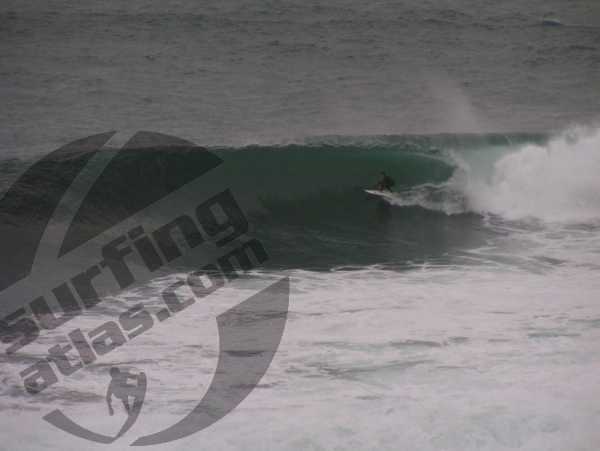
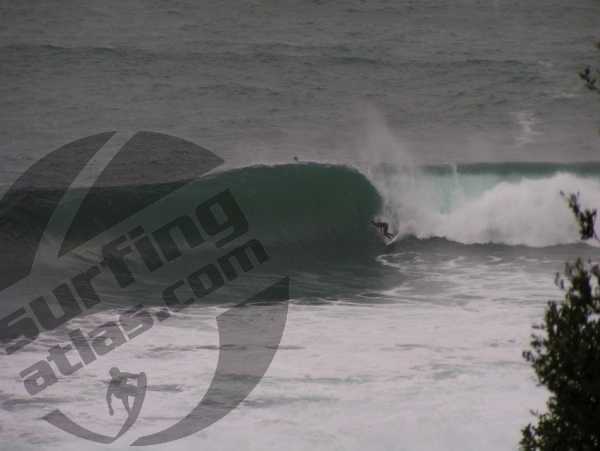
First Cousin of Fairy Bower. This break lies further around the point and really only breaks in the larger Southerly swells. Ridiculous overcrowding at Fairy Bower encouraged surfers to venture further around the point, first to Deadmans, then Winkipop and finally this journey reached an illogical conclusion at the mythical Blue Fish Point.
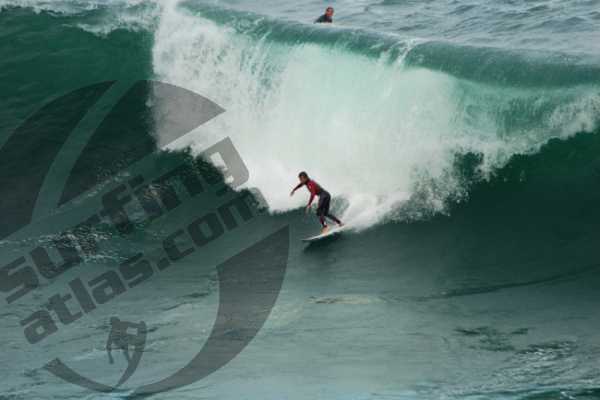
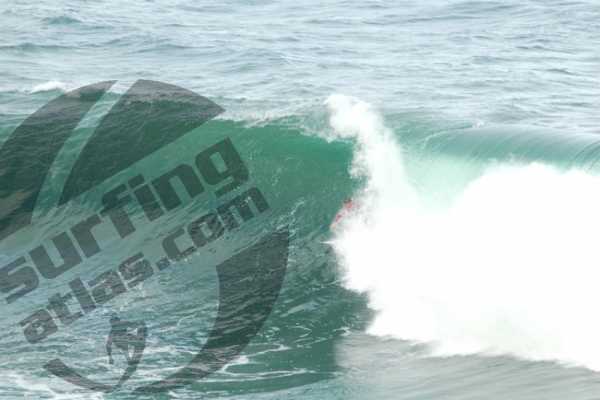
A swell with a minor easterly component or better will ensure that the breaking front of swell energy will commence right in the corner of the point before spreading out to Fairy Bower. Take offs can be critical as the wave tends to barrel upon takeoff, nearby rock shelves, reefs and cliffs call into question the status of anyone who buys it out here until they surface. You are deemed to be critically injured unless proven otherwise - hence, Deadmans.
On epic days, the wave can connect right through to the Fairy Bower section, a ride of over 200 metres. Access via a well timed cliff jump near the entry point for Fairy Bower.
Wave length
50-100m
Best months
June - August
Equipment
Body Board, Short board
Wave type
Powerful
Access
Long Paddle
Hazards
Reef/Rock, Rips
5 Day Forecast
5 day forecast not available.
Air - Sea - Swell - Wind
- Spring suit
- 3/2 steamer
- 3/2 steamer
- Spring suit
NE
NE
1M / F4
E
S
2M / F4
SE
W
2M / F6
E
N
1M / F6
video gallery Upload a videoView gallery
photo galleryUpload a photoView gallery
 Deaddie July 07 By: Masashi |
 Deaddie July 07 By: Masashi |
 Deadmans 5 By: Justin Mulligan |
 Deaddie July 07 By: Masashi |
 Deadmans 17 By: Justin Mulligan |
Partners